|
Thanks to the generous donation by the CNM Executive Council of Students we have successfully raised all the necessary funds to send 5 CNM Students and 1 CNM Faculty Member to Cambridge, UK to compete in #Piwars 2018 on April 21-22, 2018.
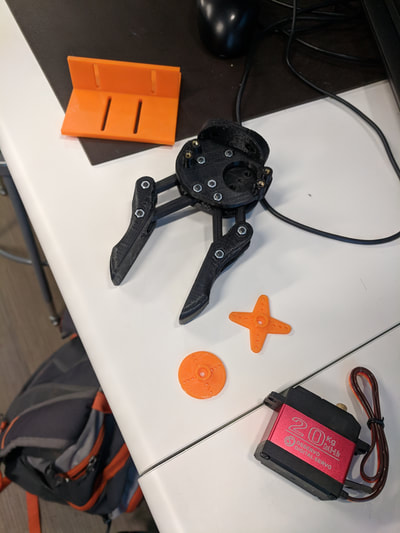
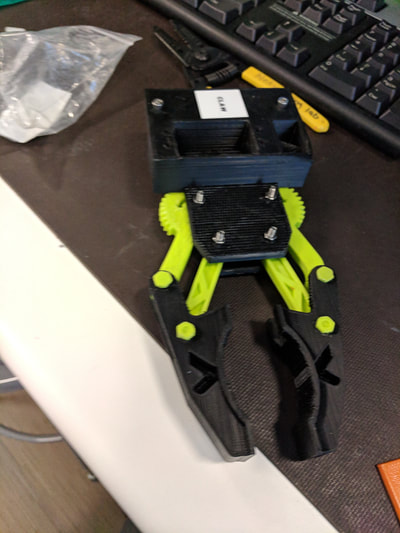
Additional funds were provided by the individual participants and through numerous CNM HackerSpace fundraisers. (GoodWill Drop-off, Mr. Car Wash Pass Sales, Kelly Jo's Painting Night, Filmraiser Movie Night, GroupRaise Restaurant Nights, and Cash Donation!) All combined we raised approximately $14,000 for this trip. OUR SINCERE THANKS TO ECOS AND ALL WHO DONATED TO THIS EFFORT!!! Not pretty, but a point earning run. Averaging 2 points earning runs per 3 runs ran... We still have time... We had some cool ideas for the Duck Shoot Challenge... unfortunately, in order to 1.) do well in their university studies, 2.) completely redesign/print the new version of HAL we abandoned the cool slingatron idea to focus on a claw attachment similar to what we used last year. Our previous claw is a bit bulkly and rather stiff as we do not have good spacers in the mechanism. Last year we also didn't have a servo controlling the claw. So we basically set the claw at a particular openness and ran the challenges. That didn't work so well in the Skittles challenge but was great in the Deranged Golf challenge.
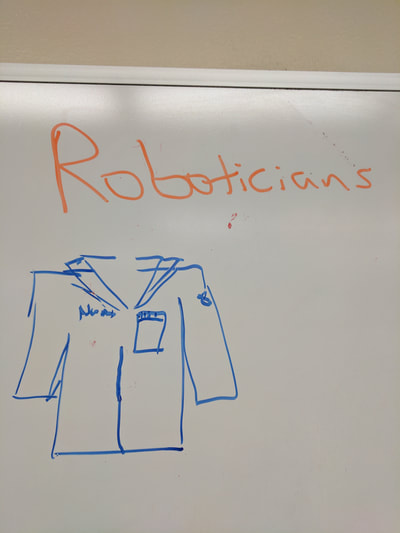
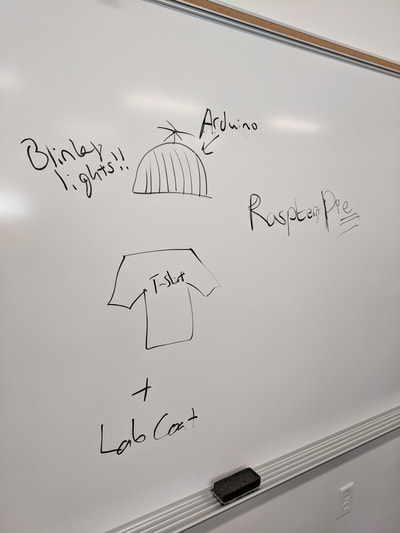
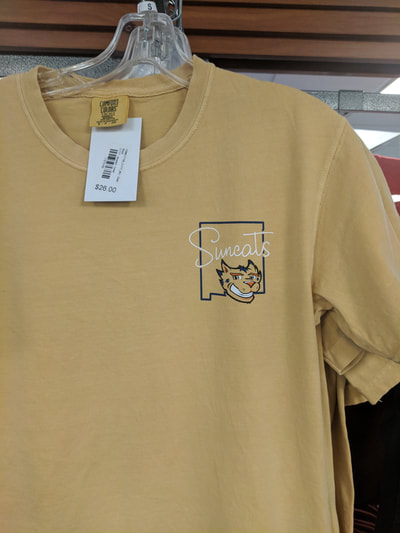
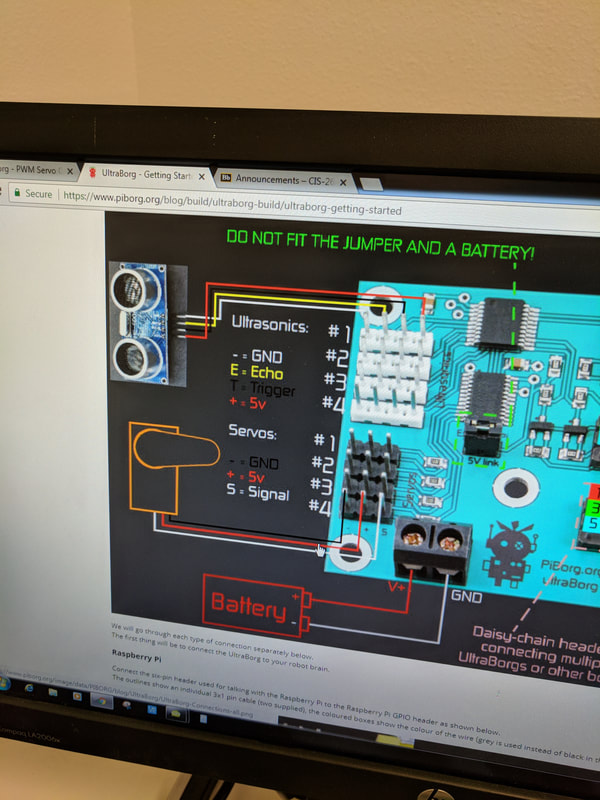
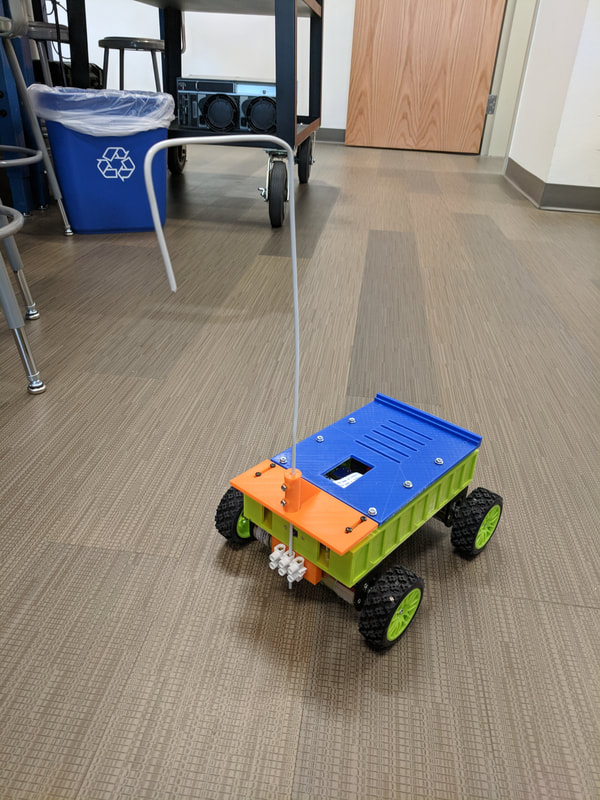
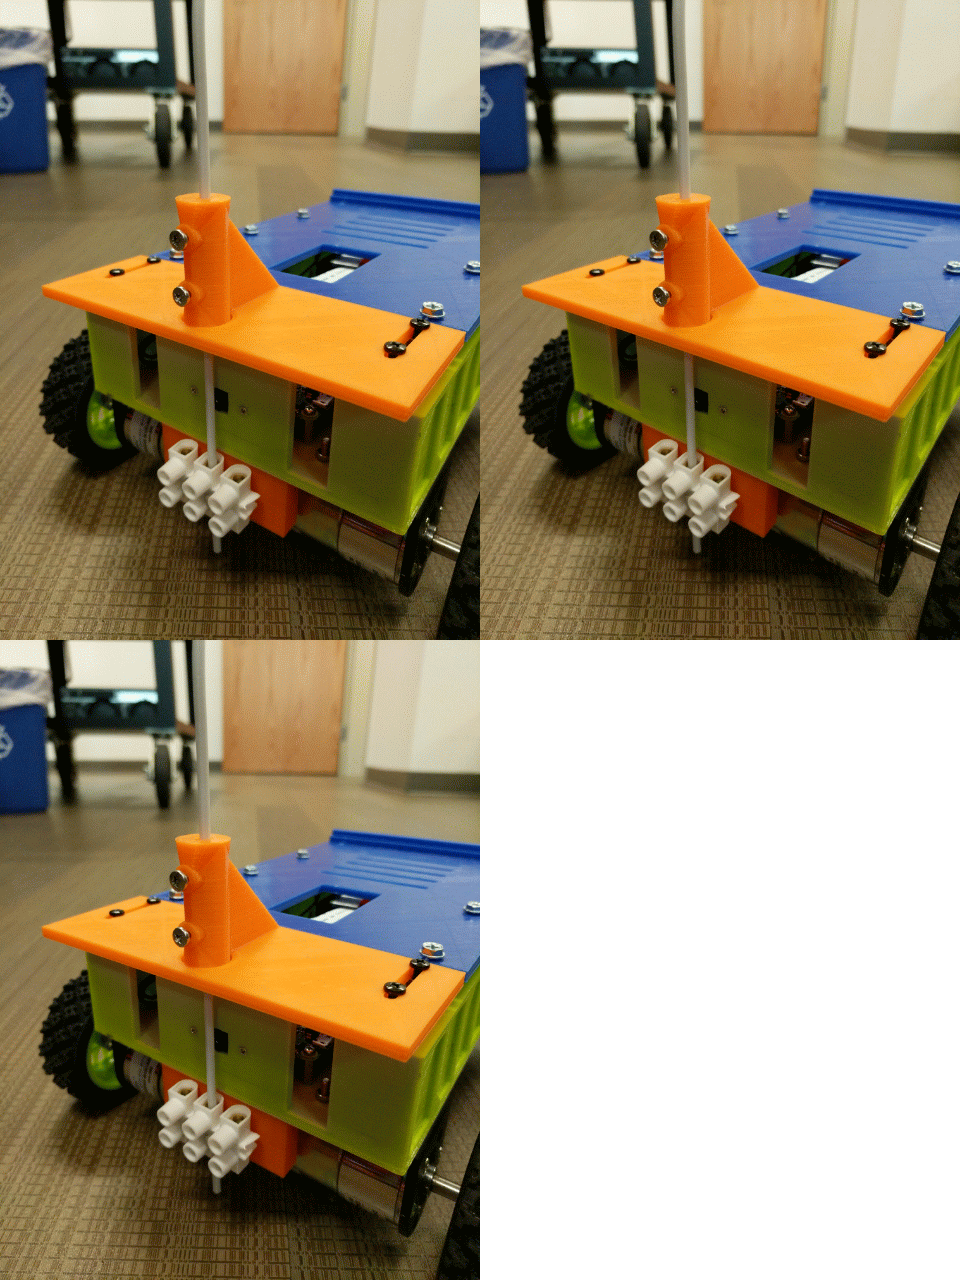
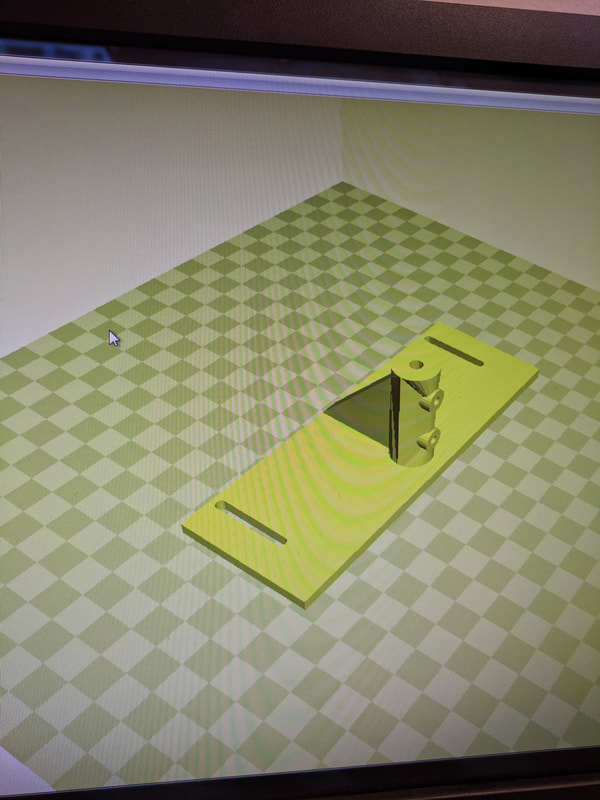
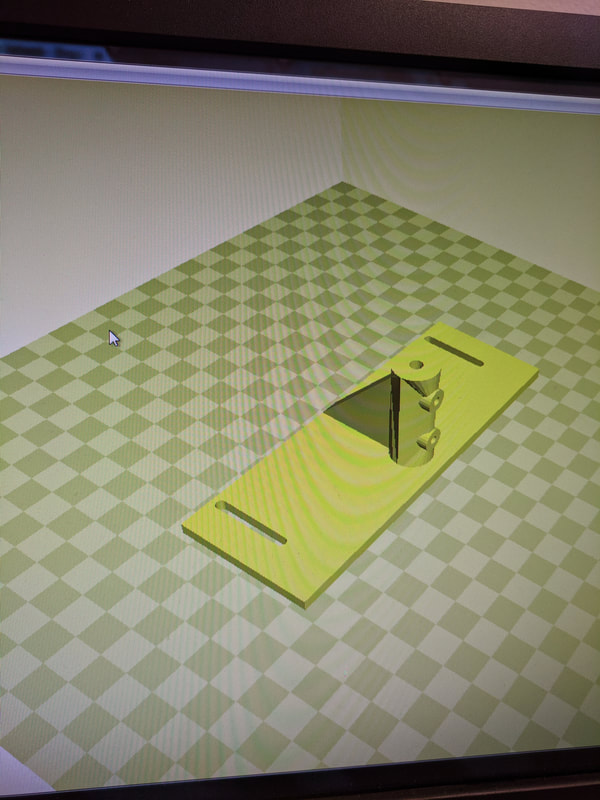
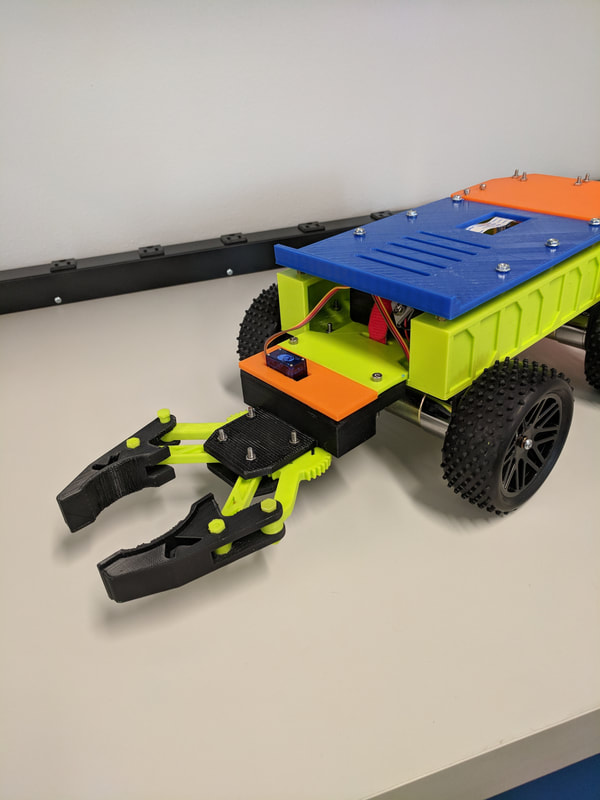
So how can we make this work for this year's challenges? First, we "borrowed" a working claw off the CNM AFRL Robotics Team's robotic arm. Second, we ordered a much improved servo motor as the tiny SG-90 motors we have in the Lab will not move a claw of this size. Third, we designed a mounting bracket that fit on the back end of HAL 2.0 and allows for height adjustments of the claw. (golf ball and tennis ball heights) Fourth, we printed a pair of servo horns that fit the newer, bigger servo motor. Fifth, We pulled one of our spare Ultraborgs out of the toolbox to drive the servo for these two challenges. Due to SD card migration and testing of HAL 2.0 being completed by the team today, my task has become making the contraption work tomorrow... Check back on Monday to see how well we get along with this. If you are going to be at #PiWars 2018 Look for us in the Lab Coats and CNM SunCats T-Shirts. Come up and say Hi as we would like to meet all the folks we have been talking to, working with, enjoying this adventure with! Thanks for letting us be a part of your great event!
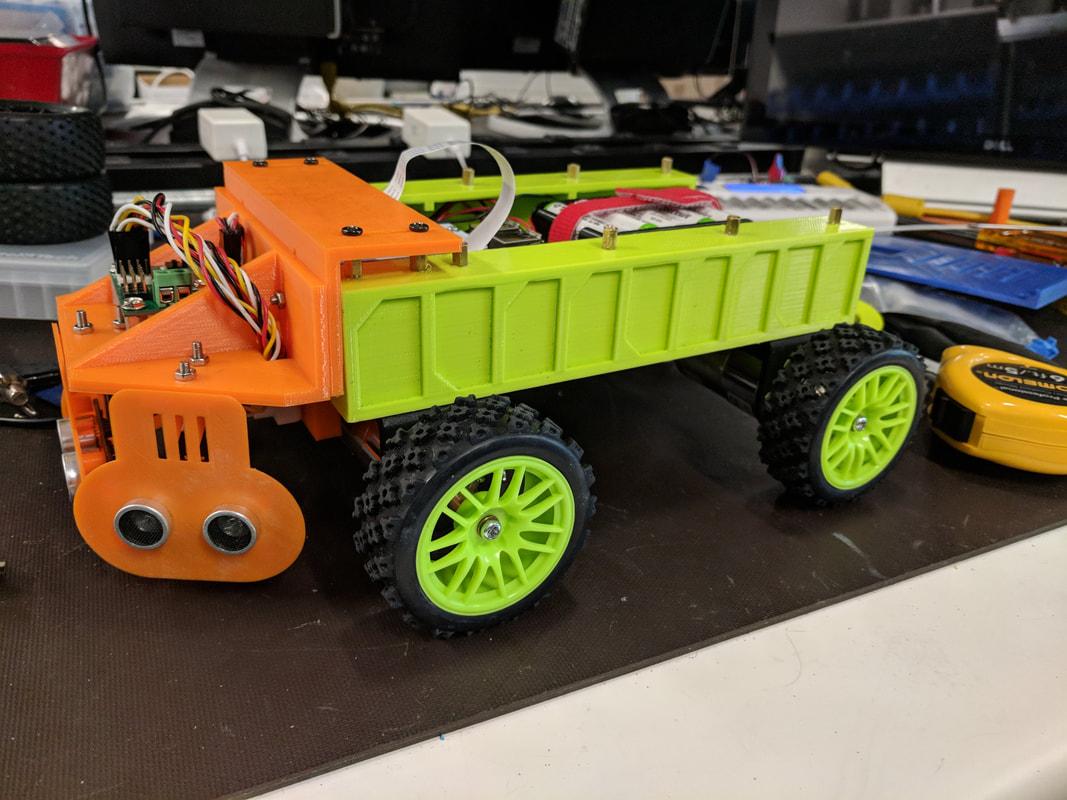
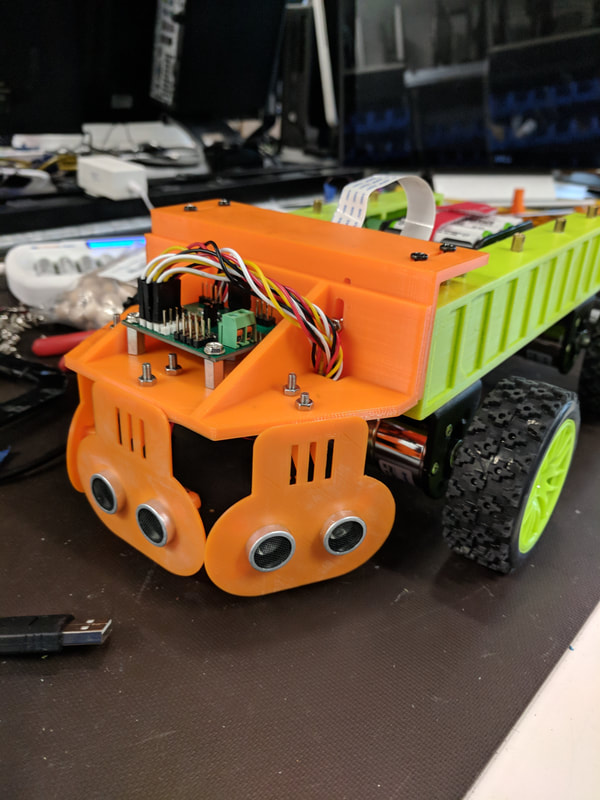
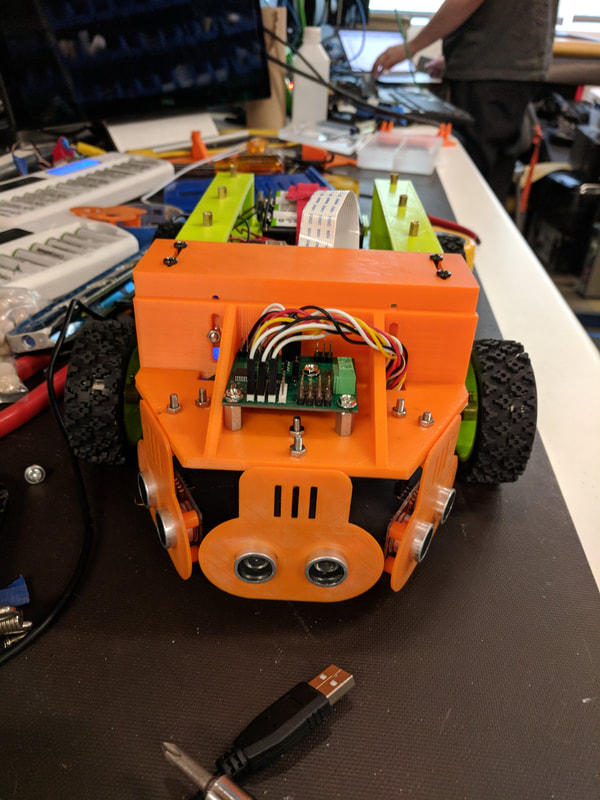
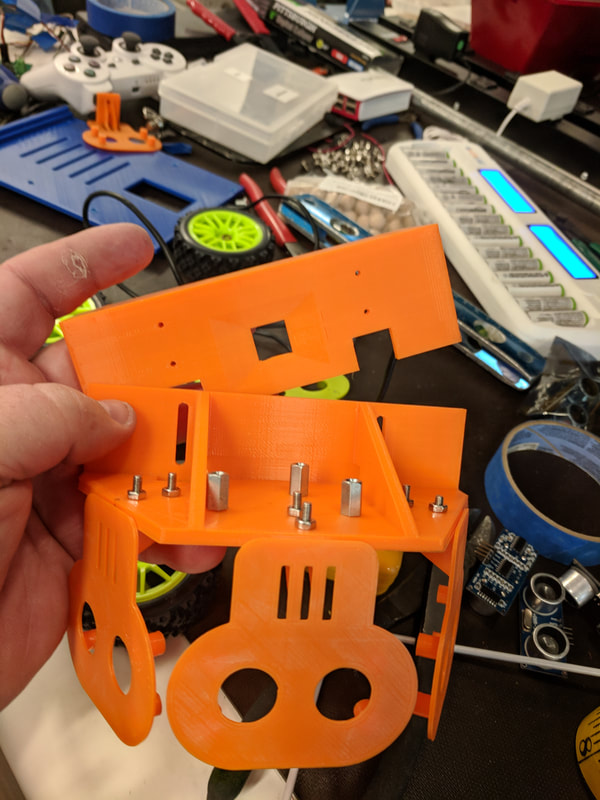
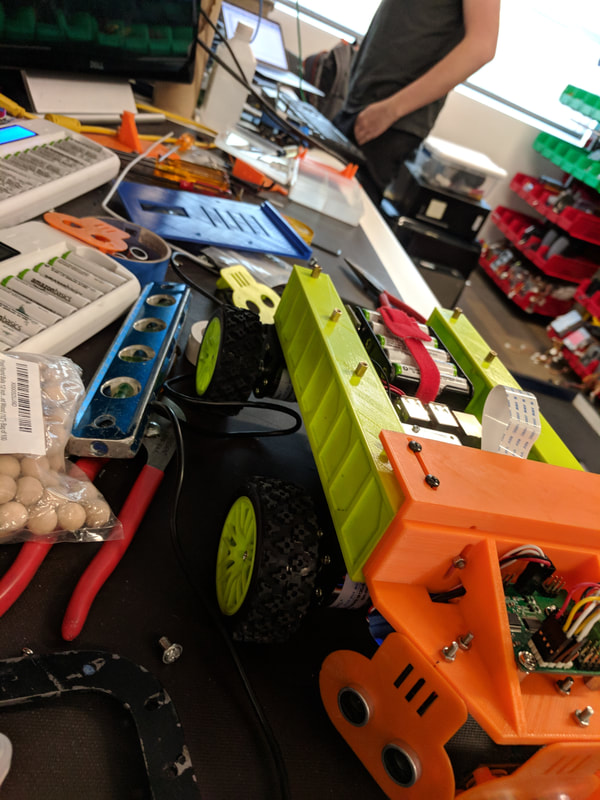
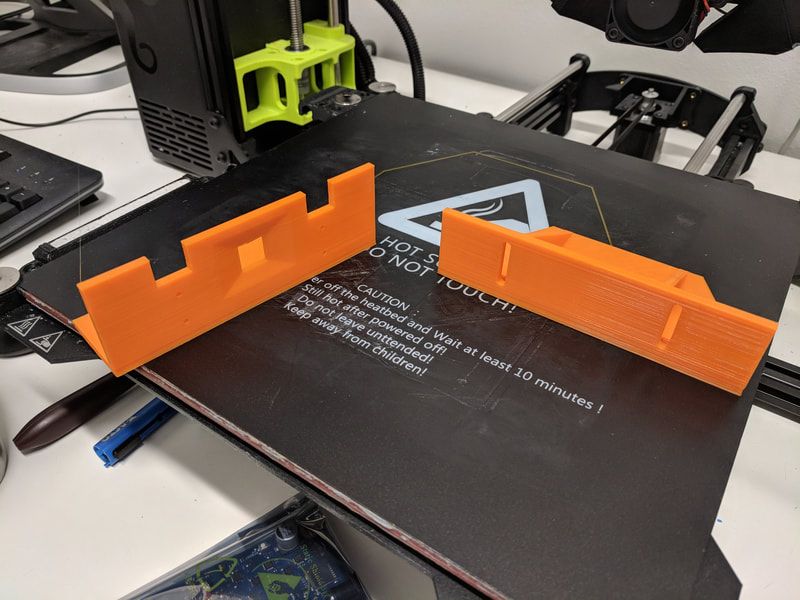
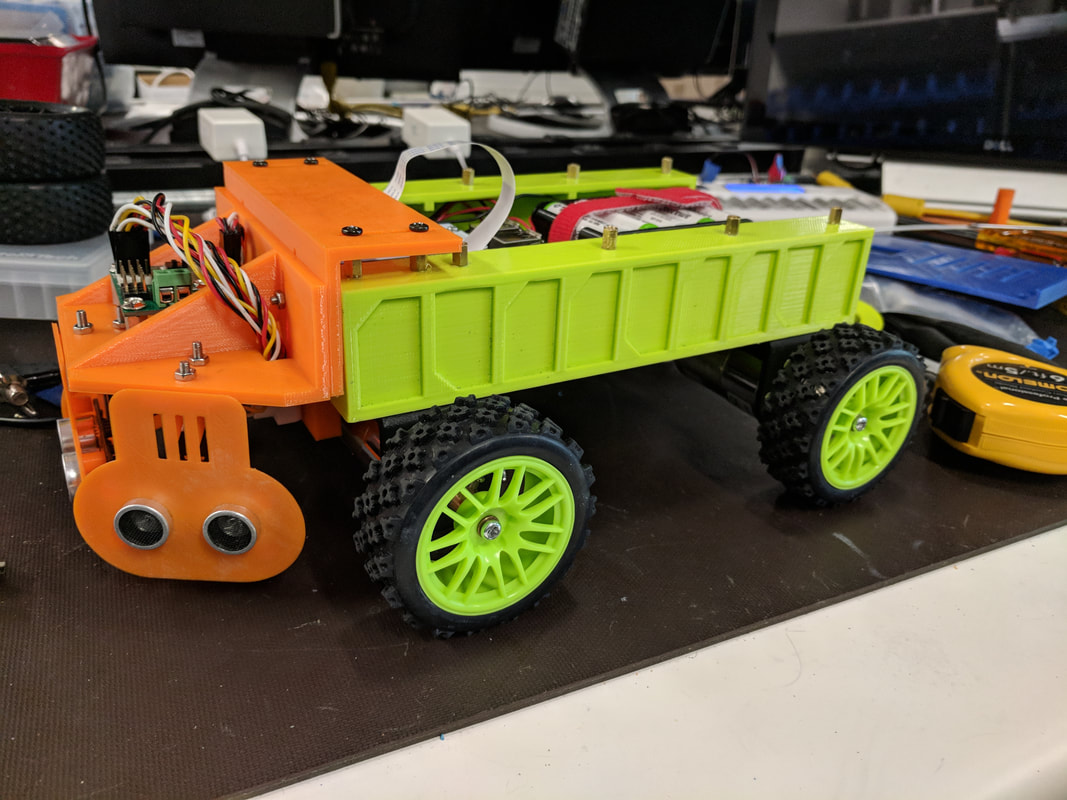
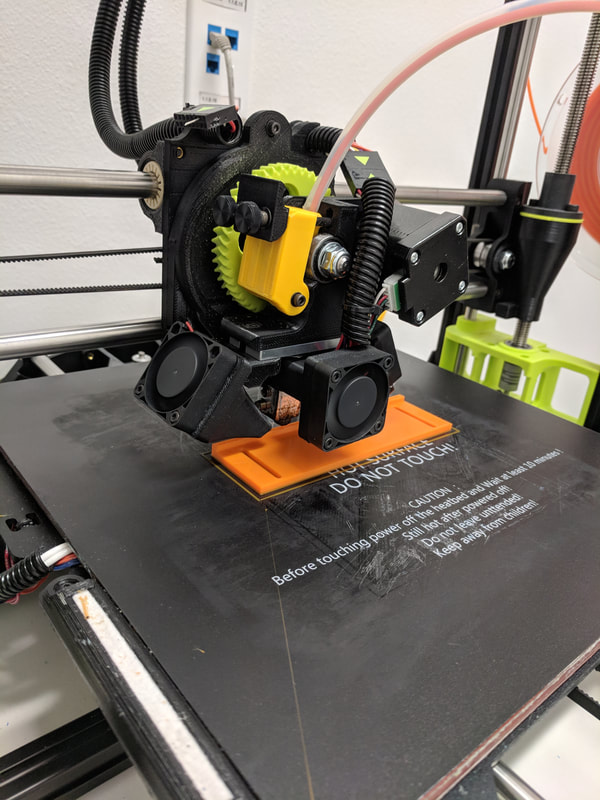
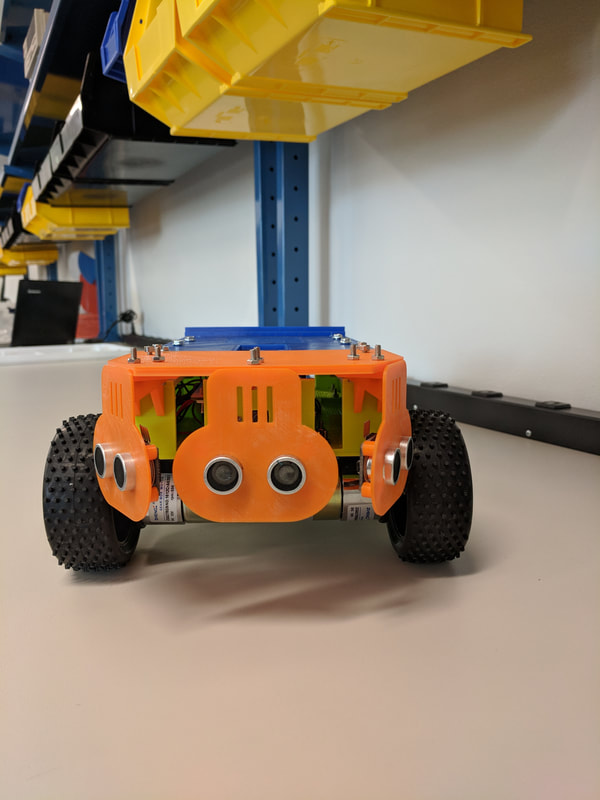
We do love the fact that we have an architect on the team who is becoming quite adept at 3D modeling... and the fact that we have a LulzBot TAZ 6 in the lab! Check them out at www.lulzbot.com. This years robot was built in house based on improvements we wanted to make to last year's robot! Today the new ultrasonic sensor array nose cone came off the printer and right onto the front of HAL 2.0. We are attempting to use this array to navigate the minimal maze. We use a Piborg Ultraborg to collect data from the 3 HC-SR04 Ultrasonic Sensors to gather data and make decisions. The Nose cone is built in 5 pieces: 1. (3) Sonic Punisher Ultrasonic Sensor Mount from Thinigiverse. 2. 2 part in-house designed adjustable nose cone. The sensors are mounted out front of the robot and can be adjusted height wise from dragging on the floor to about 2.5 inches off the ground. Now if we could only get the sensors to read quicker and our logic to work flawlessly... we would be in great shape. At least Hal 2.0 will look cool while we run him ragged around the minimal maze. Videos are pre-nose cone...
Today while working on setting up Hal 2.0 as a WiFI Router we discovers a fun acronym for him.
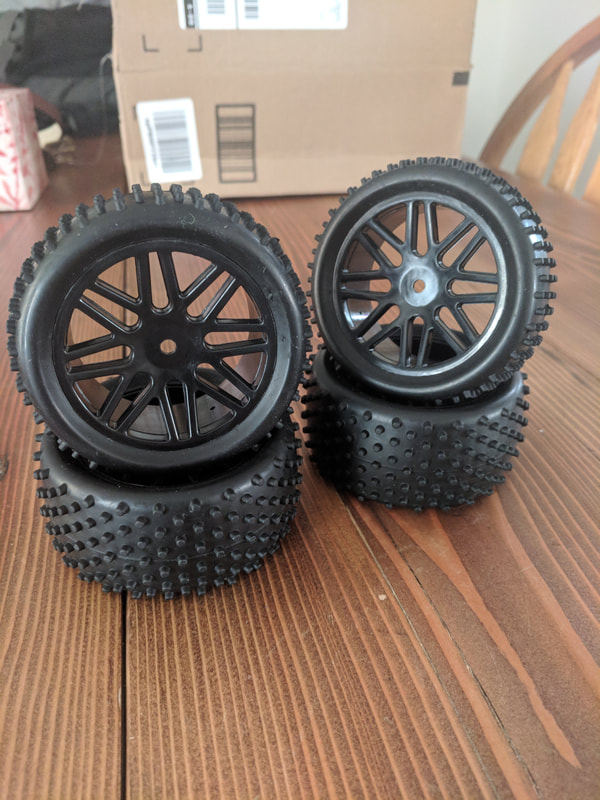
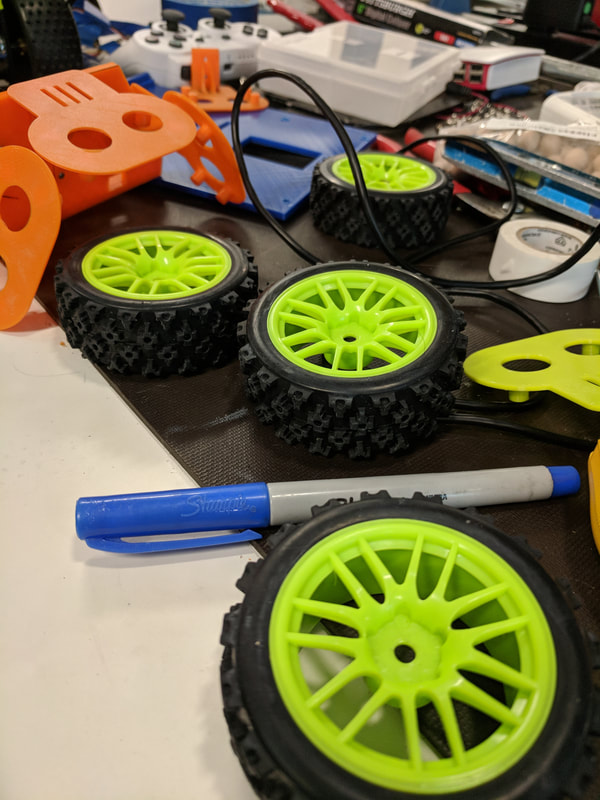
Hal 2.0 = H20 Hal 2.0 (H2O) for short got a couple a new sets of wheels this year!
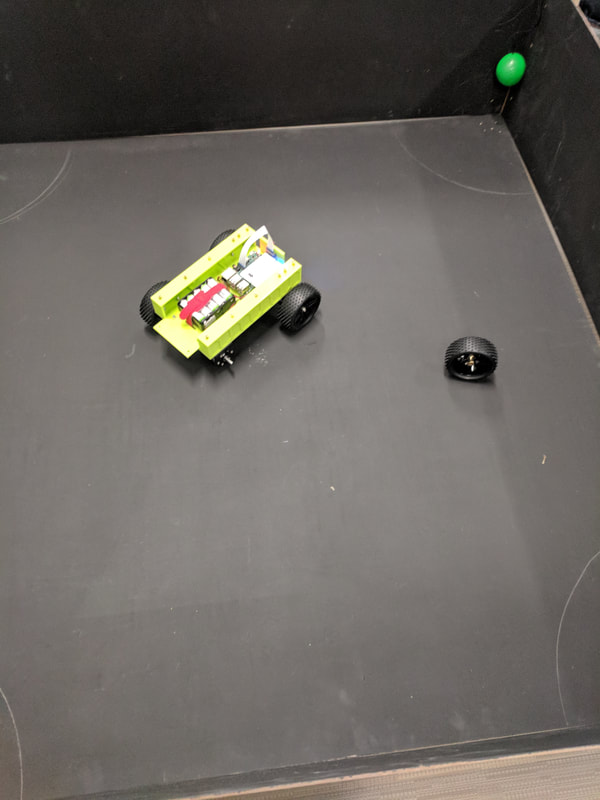
First up are the 85mm Off Road tires inspired by PiBorg Robotics! These will be used for the Obstacle Course, Pi-Noon, Duck Shoot, and Pi-Noon. (Pretty much anywhere where we need clearance under the robot or where the height will help with better sensor readings) We also decided to replace the slicks from last year with much cooler looking "small" off road tires with really fun green rims that match the robot chassis. Because of poor timing on our part we were unable to purchase the larger tires from PiBorg. We do recommend that you check out their website at www.piborg.com for some of the best robotics gear around! PUBLIC SERVICE ANNOUNCEMENT
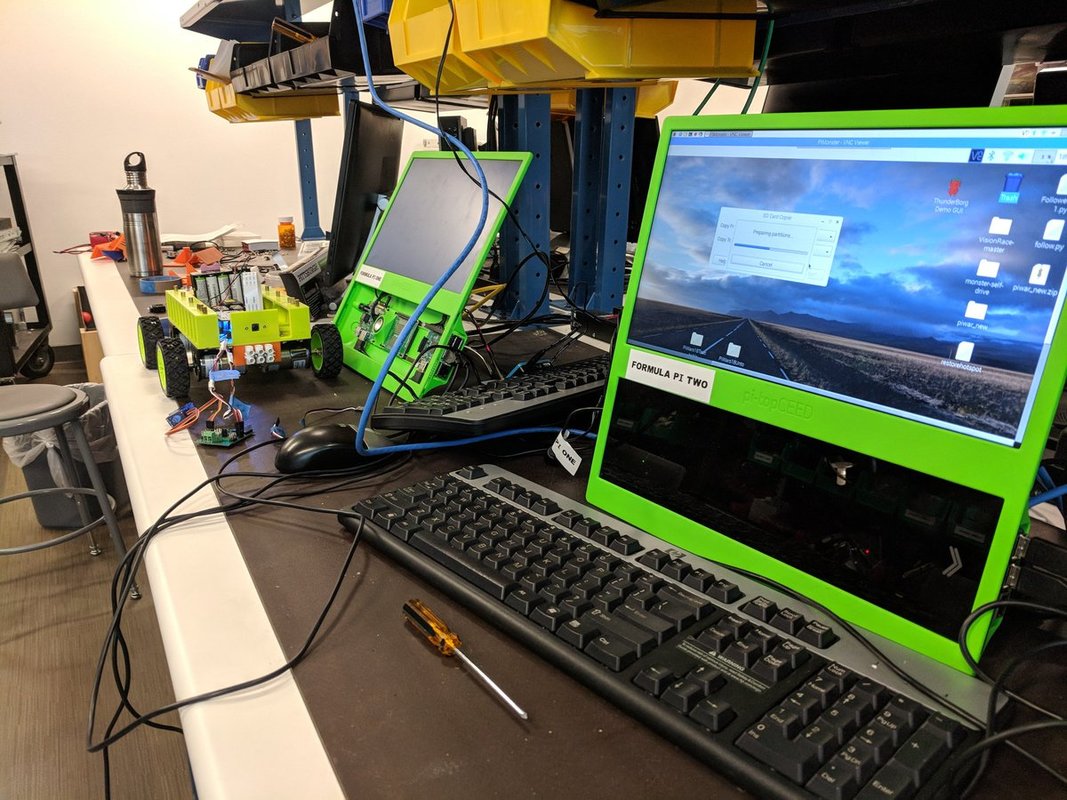
Make Backups of your Data People! We are paranoid about our data around here... We do NOT ever want to be in a situation where hours of tuning work on the robot gets lost to silly issues like SD cards going bad, incorrect wiring of sensors, faulty power, etc. This morning before we got started we made 3 copies of Hal 2.0s Brains... Tested them on extras Raspberry Pis and stored them for safe keeping. Additionally we store our files in 2 sub folders on the Raspberry one editable and one not editable. These folders are stored on GitHub and on our schools LMS for disaster recovery purposes. This is a picture of an SD Card Copy (part of the Raspian OS) in progress of Hal's entire operating system. SHout out to @GetPiTop! we love the Pi-TopCEEDs here in the lab. Good day today. Joseph was able to redesign the attachments for Pi-Noon. We printed the attachments overnight and installed them this morning. Looking Good HAL 2.0! Are you ready to pop some balloons?Jimmy and Alex took HAL 2.0 for a "walk" today after we realized that we had only run him in confined spaces and were not 100% sure how he would behave when given some space to stretch his legs. This little video shows that he behaved quite nicely, has a bit of speed and can hopefully keep up with the competition... We are looking at you --- @GetPiTop and specifically this video, https://videopress.com/v/BGTGrTsV which has led to numerous sleepless nights as we worry about not being completely ready for #PiWars!!!
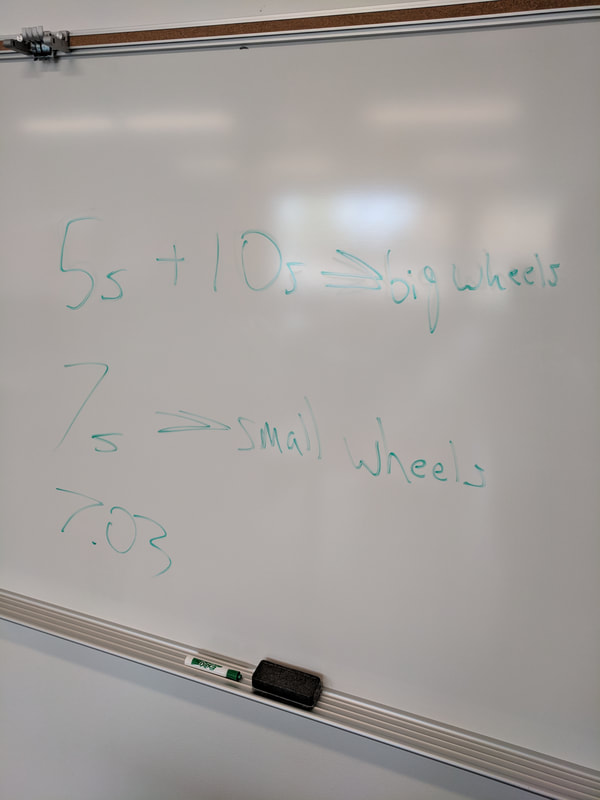
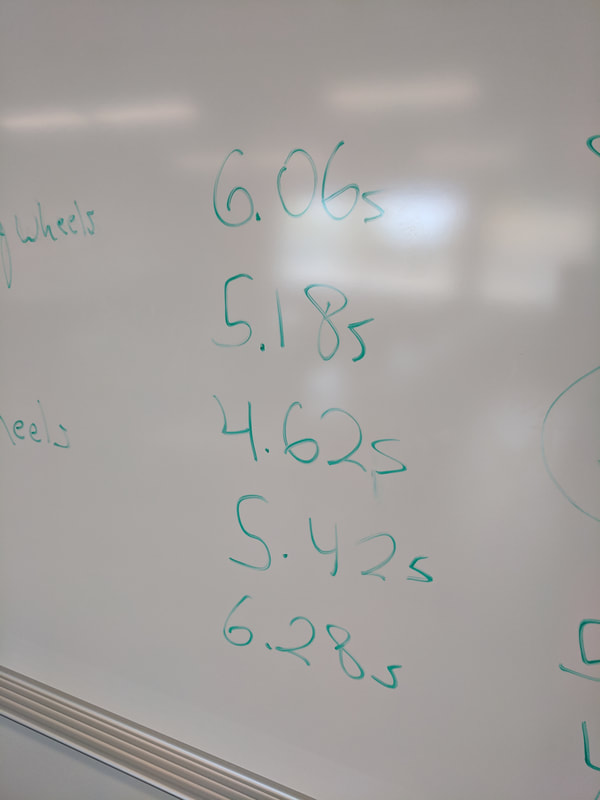
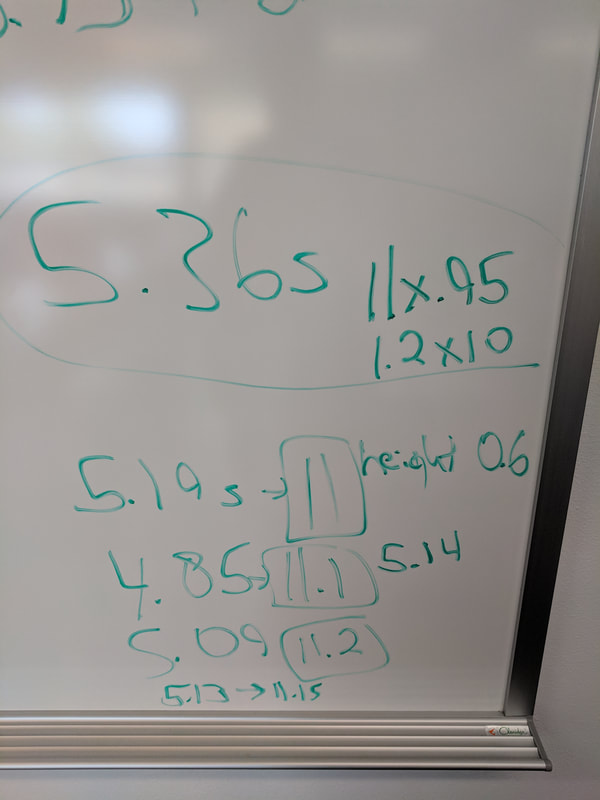
We finally got HAL into the HAL 2.0 Chassis yesterday. We wanted to see how well, or not, the new robot would perform on an obstacle that we already had programmed and working on the PiBorg MonsterBorg Test Platform. After some initial failures, documented in another post, we were able to quickly get HAL 2.0 to perform within acceptable parameters... Not hitting anything and 4.5 - 5.5 second runs. Tweaking here and there to increase the speed only ended up slowing him down. In the end we have some parameters that seem solid and worked consistently to be comfortable moving on to other challenges for now.
Most of our work doesn't end up being shared because it looks a lot like this... Thought i would be fun to share some of our videos that don't show the awesomeness that is HAL 2.0. Enjoy...
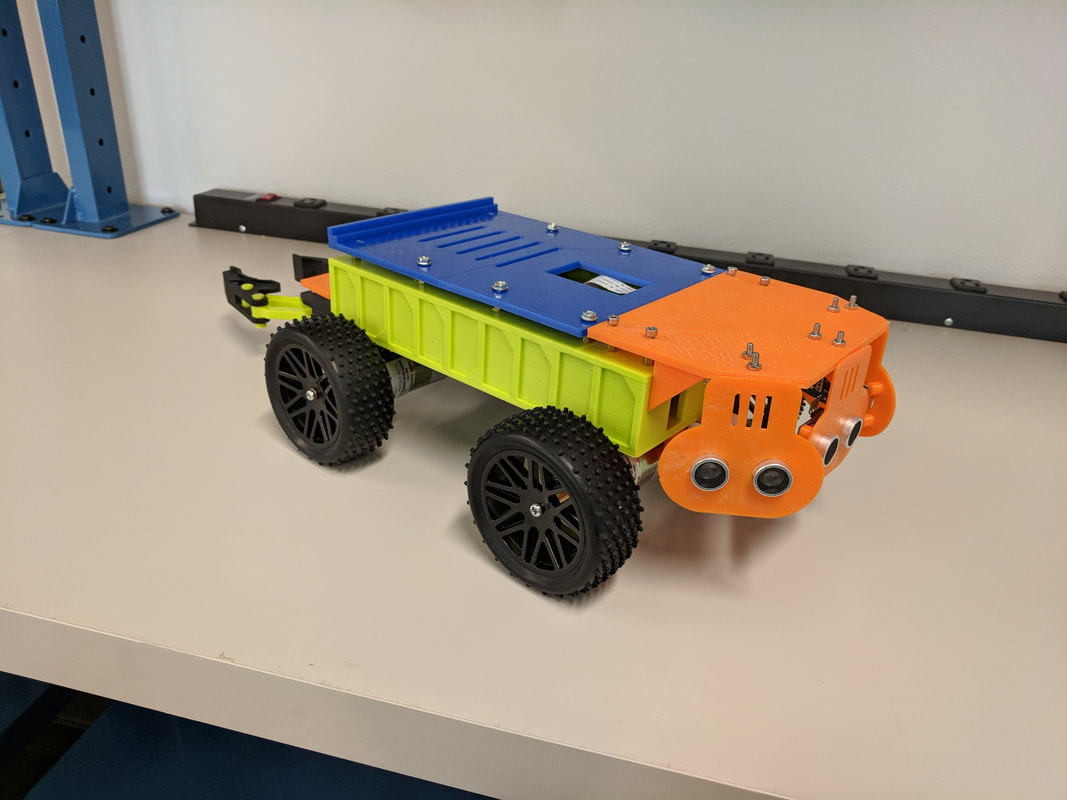
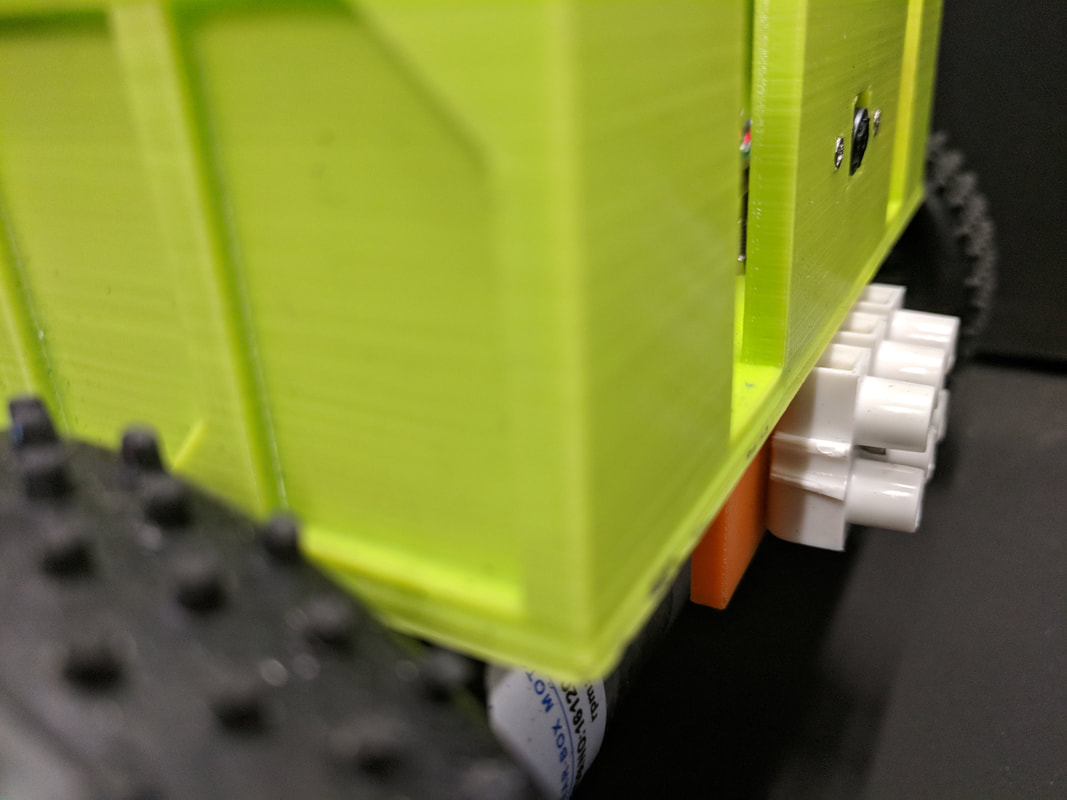
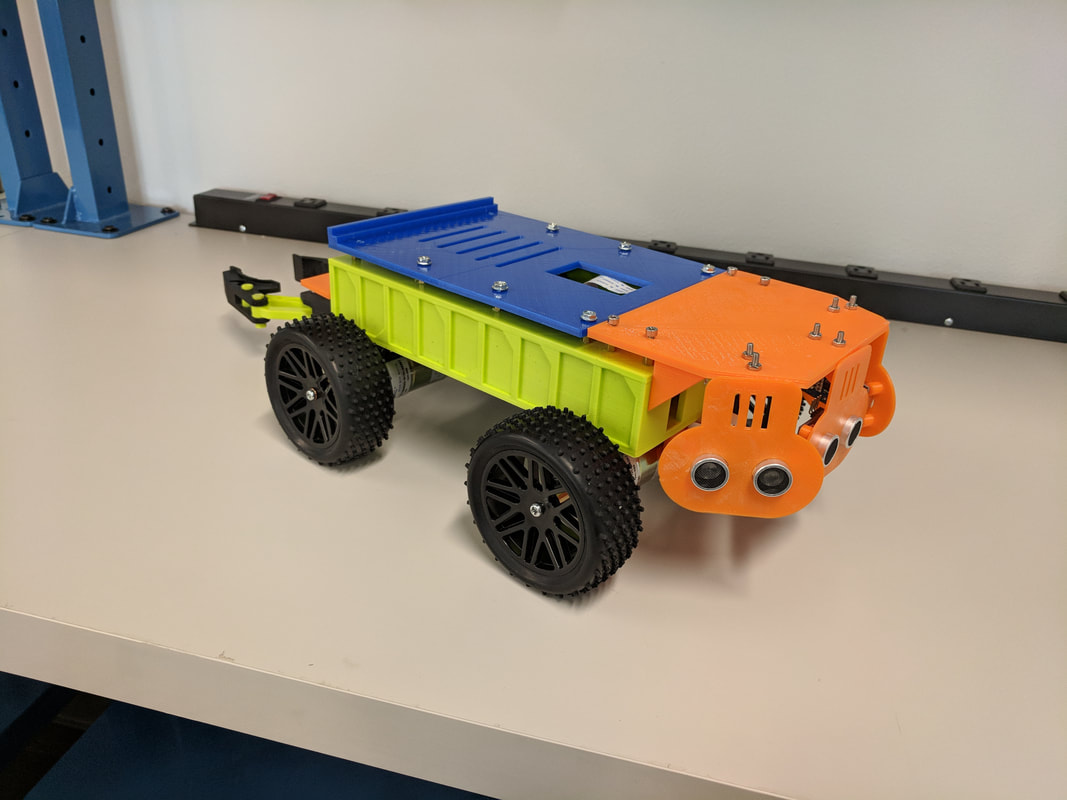
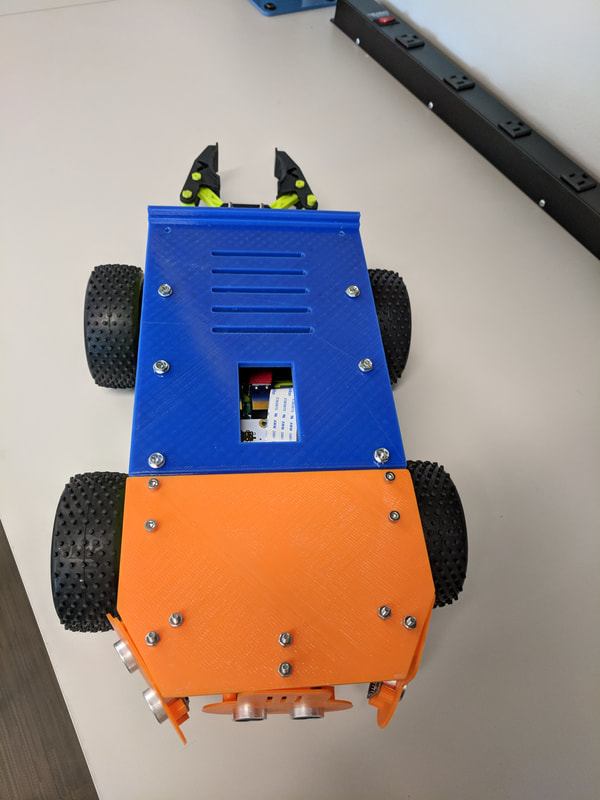
Just wanted to share some pictures of HAL 2.0 after we got him migrated from last year's chassis into this year's chassis. Most of the parts were designed and 3D printing in the lab! Thanks to Joseph for putting up with all our crazy design ideas and making quick work of the design efforts once we decided how we wanted to move forward.
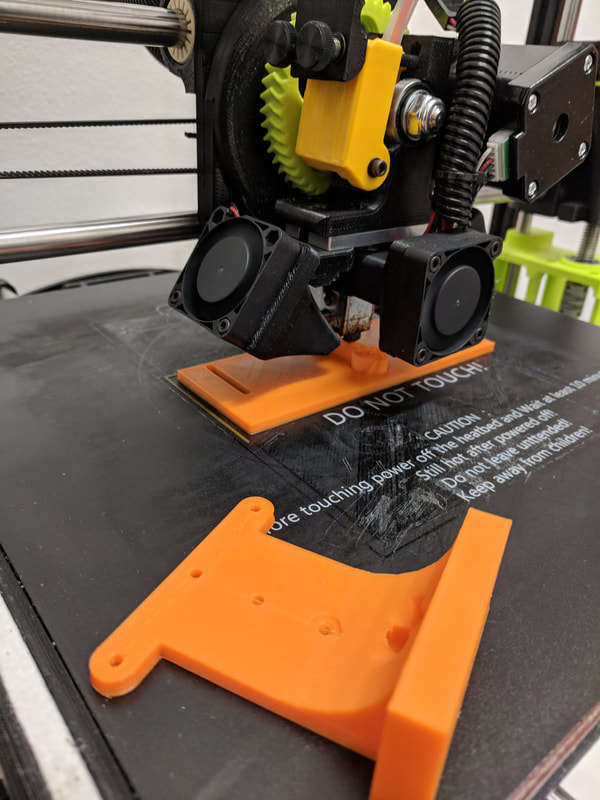
Here is a slideshow from the Hal to Hal 2.0 Migration... Finished build will be shared in another blog post. This year, because we have a LulzBot Taz 6 in the lab and an architect on the team, we thought we would convert our DVD ROM case chassis from last year's robot (HAL) into a custom 3D printed affair this year. This Slideshow shows a lot of that process, from design, to printing, to re-design, to testing. Our design this year adds 5 cm to the length of the chassis and stretched the wheelbase about 3.5 cm to correct some balance issues from last year. This allows us to mount the batteries in the robot instead of on the robot as well. We also reduced the width by about 2 cm to accommodate larger, much cooler looking, tires. We added a camera mount to the chassis for OpenCV automation and a permanent Pi-Noon mount under the chassis. We are implementing "Nose Cones" for the different challenges, Minimal Maze and Pi-Noon specifically. We have also added a mounting platform for the Claw to be used on Deranged Golf and Duck Shoot. Th process took us a while to get going on, but ultimately the ease of design changes to implementation has been great. It's awesome to say hey, we should do this a different way and the next day have a new part to try out. This year my (Kerry Bruce) personal project for the team was to build better obstacles for the team to practice on. This slide show shares with you some of the in progress and completed obstacles. First up is the minimal maze. Last year we started with electrical tape on the ground, followed by 1x3s taped to the pattern and eventually 2x3s painted and taped to the floor. This worked great in testing, however when we got to #PiWars 2017 our robot did not have enough torque to the wheels to turn. Why? Well, linoleum flooring is nice and slippery whereas the painted plywood used on the minimal maze at #PiWars 2017 was not slippery at all. So, this year we tried to build them as close to the real things as we possibly could.
For the Minimal Maze we decided to mount the our rails from last year to 2 4x4 sheets of 1/2 inch plywood. This whole converting from metric to imperial measurements is silly... maybe one day... who am I kidding... could you see the US Legislature making that decision... anyways, I digress. This process took a lot longer than I wanted it too. First I had to measure (multiple times) where I needed to make cuts to the long rails. Second, I laid out the rails upside down and backwards so that I could nail the rails to the base from the bottom. Third, using an air gun, I nailed the outside rails to the base. Followed by measuring, taping and nailing the curves to the inside of the obstacle from underneath, without missing... A touch of black paint to the base and tops of the rails and I think we have something close to the real thing. For the Straight Line Speed Test I tired to follow the provided drawings, and it looked great! However, first of all I messed up the measurements for the black/red sections. Complete Cache Miss on my my part. Then via prompting on Twitter, I was informed that the obstacle didn't have red sections anymore, only red chicanes, so out came the paintbrushes again. We are happy with the final result and HAL 2.0 agrees... Somewhere over the rainbow was a bit of a mess... I first purchases 2x12s to build the walls, but that seemed far too bulky... After communicating with Mike and Tim I discovered that the walls were wimple 3mm hardboard, way smaller and lighter than my original choice. Cutting and painting these were pretty simple, rip a 4/8 in half then 4 strips of 12 inches each for 4 walls 48x12. The hard part came when trying to figure out how to fix the walls to the base... After much debate, I added 4x4 legs under the base and attached 1x4 corner braces for the walls to be attached to. I looks a little silly but it works. Fundraising is TOUGH!!! This trip is expensive for us. At a cost of between $2000 to $3000 per student to make the journey, buy all the materials/supplies to build the robot, and food... you know pizza, donuts, sodas for those long build days...
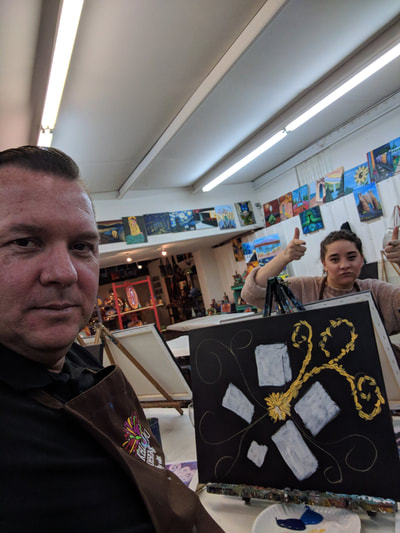
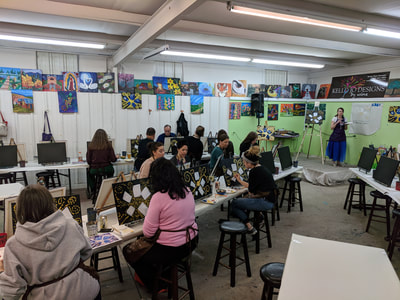
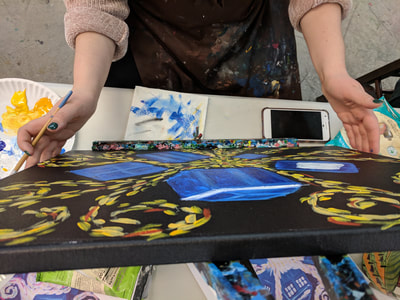
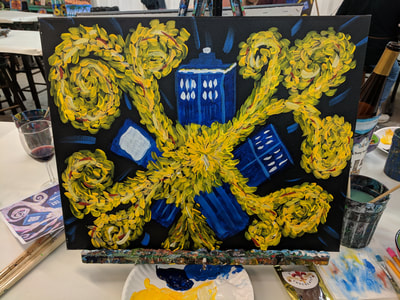
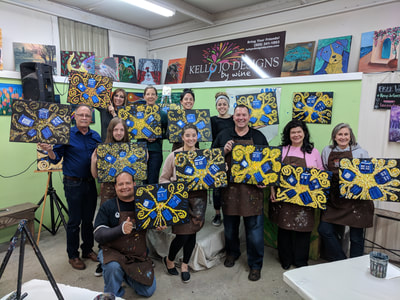
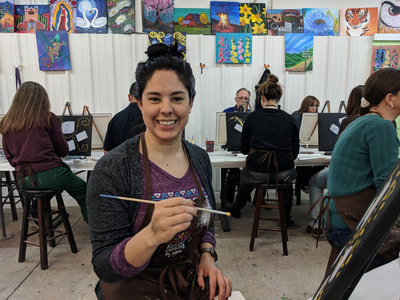
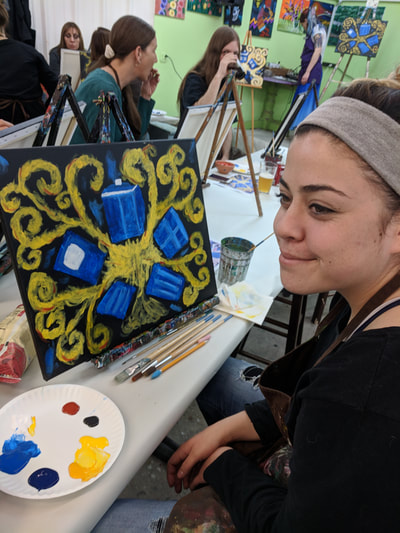
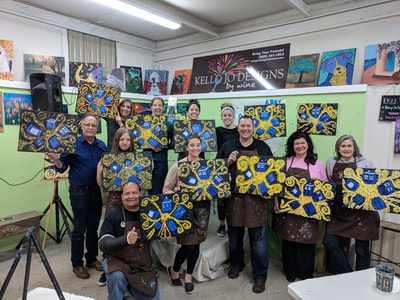
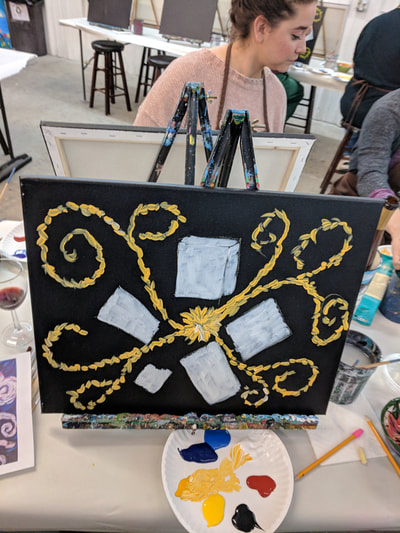
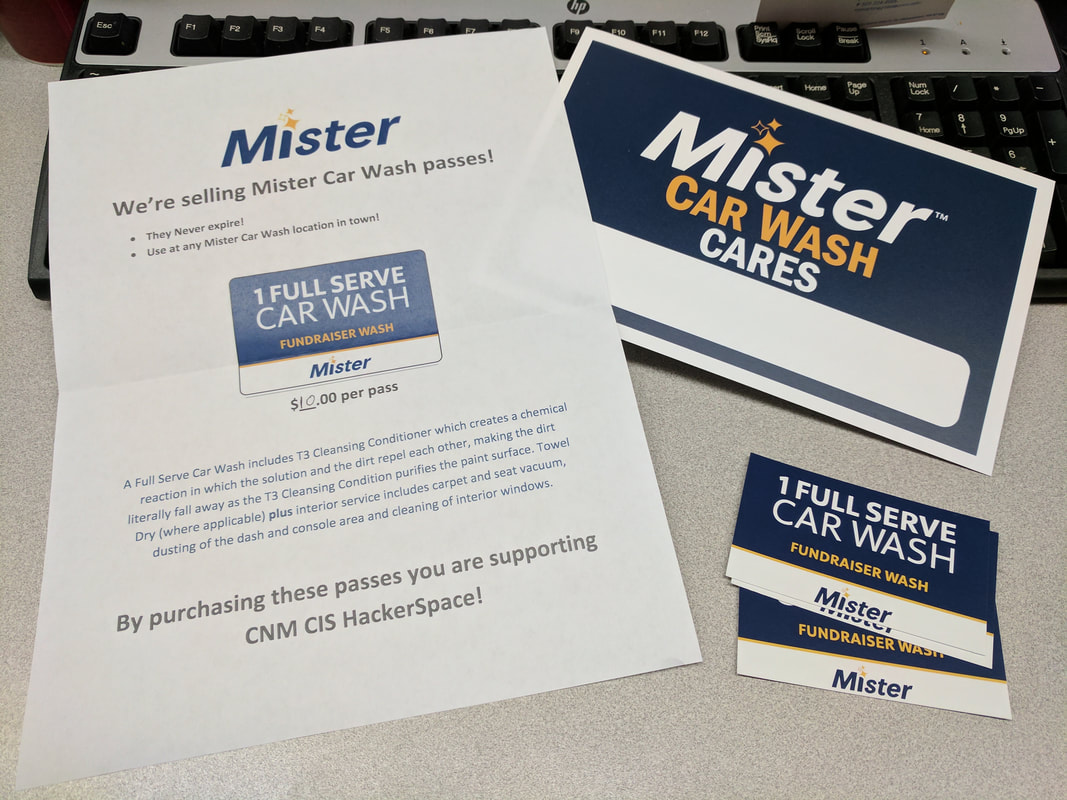
This year one of our events was a Kelly Jo's Design By WIne Painting Fundraiser! We has an awesome time painting a Dr. Who - Vincent Van Gogh inspired painting called Vincent and the Doctor. Friends, Wine, Eats, and of course the Painting! We had a great time and earned $200 on the evening. Check out Kelly Jo's Design by Wine at https://kellyjodesignsbywine.com Much Thanks to Mr. Car Wash for helping us with fundraising this year! We raised about $800 selling car wash passes!
Check them out at http://mistercarwash.com/ Tucking this entry way at the beginning of the blog to be used as reference if we are having issues... |
AuthorKerry A. Bruce Archives
April 2018
Categories |
- Home
-
My IT Instructor
-
Student Resources
>
-
CNM Courses
>
- CNM - Cisco Self Enroll Courses
- CIS-1410 IT Essentials Hardware
- CIS-1415 Network Essentials
- CIS-1605 Internet of Things
- CIS-1610 IT Essentials Software
- CIS 1696 Introduction to Competitive Robotics
- CIS-2620 Configuring Windows Server
- CIS-2636 Cloud Computing
- CIS-2650 Advanced Windows Server
- CIS-2670 Computer Security+
-
CNM Courses
>
- Instructor Resources >
- NCTC
- Let's Get Social
- Books I Recommend
-
Student Resources
>
- WASTC
- #PiWars Blogs
- Pi IT Up!
- CNM HackerSpace
- Robotics Resources
- Workshop Information



 RSS Feed