|
This year my (Kerry Bruce) personal project for the team was to build better obstacles for the team to practice on. This slide show shares with you some of the in progress and completed obstacles. First up is the minimal maze. Last year we started with electrical tape on the ground, followed by 1x3s taped to the pattern and eventually 2x3s painted and taped to the floor. This worked great in testing, however when we got to #PiWars 2017 our robot did not have enough torque to the wheels to turn. Why? Well, linoleum flooring is nice and slippery whereas the painted plywood used on the minimal maze at #PiWars 2017 was not slippery at all. So, this year we tried to build them as close to the real things as we possibly could.
For the Minimal Maze we decided to mount the our rails from last year to 2 4x4 sheets of 1/2 inch plywood. This whole converting from metric to imperial measurements is silly... maybe one day... who am I kidding... could you see the US Legislature making that decision... anyways, I digress. This process took a lot longer than I wanted it too. First I had to measure (multiple times) where I needed to make cuts to the long rails. Second, I laid out the rails upside down and backwards so that I could nail the rails to the base from the bottom. Third, using an air gun, I nailed the outside rails to the base. Followed by measuring, taping and nailing the curves to the inside of the obstacle from underneath, without missing... A touch of black paint to the base and tops of the rails and I think we have something close to the real thing. For the Straight Line Speed Test I tired to follow the provided drawings, and it looked great! However, first of all I messed up the measurements for the black/red sections. Complete Cache Miss on my my part. Then via prompting on Twitter, I was informed that the obstacle didn't have red sections anymore, only red chicanes, so out came the paintbrushes again. We are happy with the final result and HAL 2.0 agrees... Somewhere over the rainbow was a bit of a mess... I first purchases 2x12s to build the walls, but that seemed far too bulky... After communicating with Mike and Tim I discovered that the walls were wimple 3mm hardboard, way smaller and lighter than my original choice. Cutting and painting these were pretty simple, rip a 4/8 in half then 4 strips of 12 inches each for 4 walls 48x12. The hard part came when trying to figure out how to fix the walls to the base... After much debate, I added 4x4 legs under the base and attached 1x4 corner braces for the walls to be attached to. I looks a little silly but it works. Fundraising is TOUGH!!! This trip is expensive for us. At a cost of between $2000 to $3000 per student to make the journey, buy all the materials/supplies to build the robot, and food... you know pizza, donuts, sodas for those long build days...
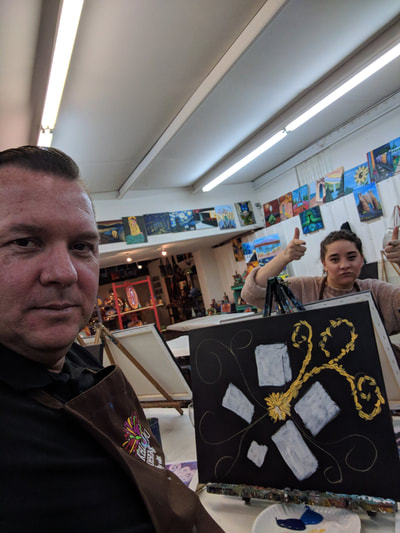
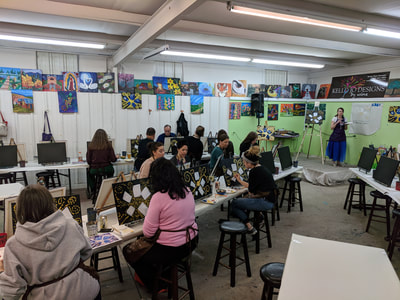
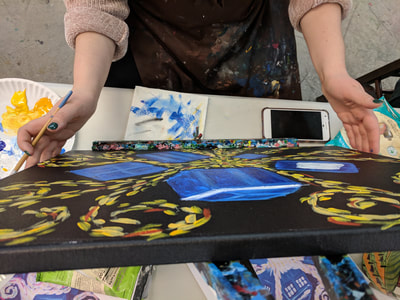
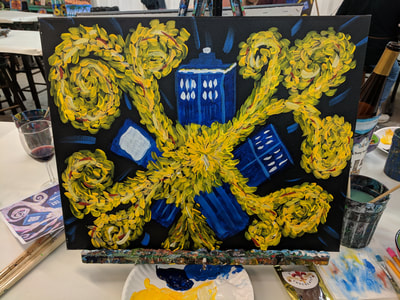
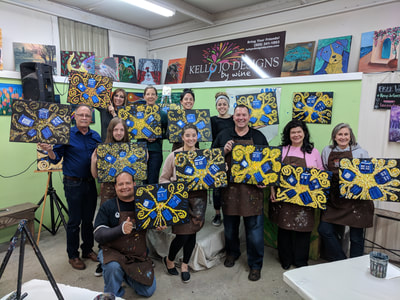
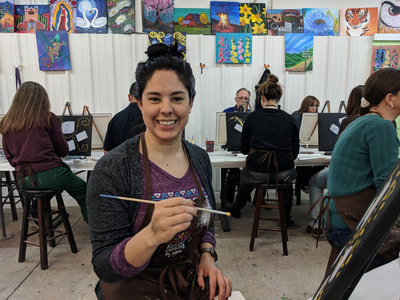
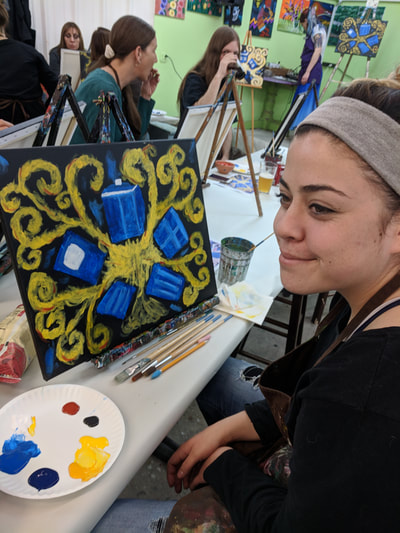
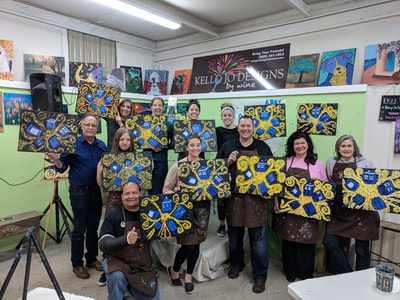
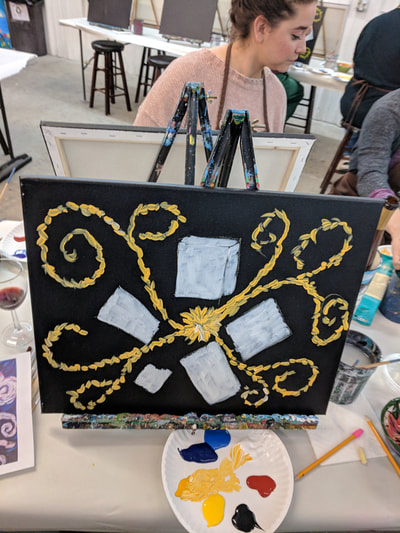
This year one of our events was a Kelly Jo's Design By WIne Painting Fundraiser! We has an awesome time painting a Dr. Who - Vincent Van Gogh inspired painting called Vincent and the Doctor. Friends, Wine, Eats, and of course the Painting! We had a great time and earned $200 on the evening. Check out Kelly Jo's Design by Wine at https://kellyjodesignsbywine.com |
AuthorKerry A. Bruce Archives
April 2018
Categories |
- Home
-
My IT Instructor
-
Student Resources
>
-
CNM Courses
>
- CNM - Cisco Self Enroll Courses
- CIS-1410 IT Essentials Hardware
- CIS-1415 Network Essentials
- CIS-1605 Internet of Things
- CIS-1610 IT Essentials Software
- CIS 1696 Introduction to Competitive Robotics
- CIS-2620 Configuring Windows Server
- CIS-2636 Cloud Computing
- CIS-2650 Advanced Windows Server
- CIS-2670 Computer Security+
-
CNM Courses
>
- Instructor Resources >
- NCTC
- Let's Get Social
- Books I Recommend
-
Student Resources
>
- WASTC
- #PiWars Blogs
- Pi IT Up!
- CNM HackerSpace
- Robotics Resources
- Workshop Information

 RSS Feed